
Photeeq Lens Flare Effect for Photoshop & Lightroom 2025
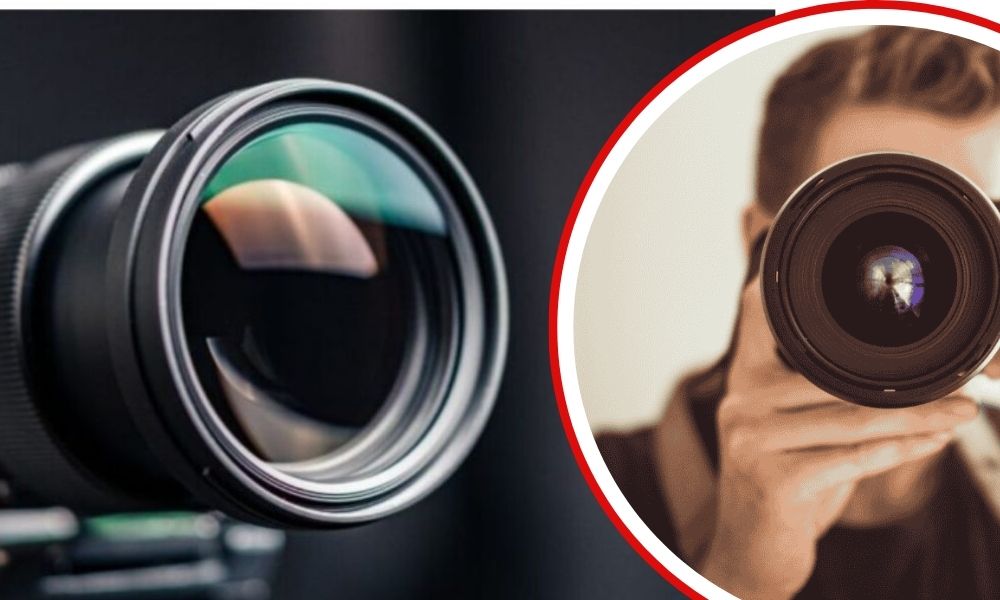
Photography is more than capturing moments—it’s about telling a story. Every image holds the power to evoke emotions, and one of the best ways to amplify that feeling is through light. The Photeeq Lens Flare Effect provides photographers and editors with a tool that turns ordinary photos into cinematic masterpieces.
Lens flare, often associated with sunlight hitting the lens at just the right angle, creates a dreamy atmosphere. While natural lens flares can be unpredictable, Photeeq offers a controlled way to add them in post-production. Whether you’re using Photoshop or Lightroom, this effect gives you the flexibility to enhance your images with precision.
Photeeq Lens Flare Effect for Photoshop & Lightroom
Photeeq is designed specifically for creative professionals who want a quick yet powerful way to add realistic lighting effects.
Compatibility
-
Works seamlessly with Adobe Photoshop (latest versions recommended).
-
Fully integrates with Adobe Lightroom Classic for streamlined editing.
-
Supports both Windows and macOS operating systems.
Key Features
-
Realistic Lighting: Mimics natural sunlight and artificial lighting.
-
Custom Presets: Offers pre-designed flares for fast editing.
-
High-Resolution Output: Ensures sharp and clean effects.
-
Non-Destructive Editing: Keeps your original image intact.
Benefits
Using Photeeq saves hours of manual retouching. Instead of painting fake light or experimenting with gradients, you can apply a lens flare instantly, then adjust its placement, intensity, and color to fit your vision.
How to Install Photeeq Lens Flare Effect
For Photoshop
-
Download the Photeeq plugin package.
-
Extract the files and move them to the Photoshop Plugins folder.
-
Restart Photoshop to activate the plugin.
-
Access Photeeq under the “Filters” or “Extensions” tab.
For Lightroom
-
Download and unzip the Photeeq preset pack.
-
Open Lightroom and go to Preferences > Presets.
-
Click “Import Presets” and select the Photeeq folder.
-
The presets will appear in the Develop panel under “User Presets.”
Using Photeeq Lens Flare in Photoshop
Photeeq provides a smooth workflow within Photoshop.
-
Accessing the Tool: Open your image, then select Photeeq from the plugins menu.
-
Applying the Flare: Choose a preset or create a custom flare effect.
-
Adjusting Intensity: Use sliders to change brightness, angle, and saturation.
-
Fine-Tuning: Apply blending modes and masks to make the flare look natural.
Using Photeeq Lens Flare in Lightroom
For Lightroom users, Photeeq simplifies the editing process.
-
Workflow Integration: Import your photos, select a preset, and apply the effect.
-
Editing Techniques: Adjust exposure, highlights, and shadows to complement the flare.
-
Customization Options: Save your preferred settings as new presets for consistent editing.
Top Features of Photeeq Lens Flare
-
Realistic Light Simulation – Recreates authentic sun flares.
-
Custom Presets – Quick one-click application.
-
Easy Integration – Fits naturally into both Photoshop and Lightroom workflows.
-
Time-Saving – Drastically reduces manual editing.
Creative Ways to Use Lens Flare Effects
-
Cinematic Portraits – Add dreamy glows to portraits.
-
Outdoor Photography – Simulate warm sunlight during sunrise or sunset.
-
Travel Edits – Enhance street photography with golden-hour lighting.
Photeeq vs. Other Lens Flare Plugins
| Feature | Photeeq | Nik Collection | ON1 Effects |
|---|---|---|---|
| Ease of Use | Beginner-friendly | Advanced controls | Moderate |
| Presets | Wide variety | Limited | Good selection |
| Realism | High | Medium | High |
| Integration | Photoshop & Lightroom | Mostly Photoshop | Lightroom & standalone |
Photeeq wins in terms of ease, speed, and realism, making it ideal for photographers who need results quickly.
Tips for Professional Lens Flare Editing
-
Always match the flare to the actual light source in the image.
-
Use layer masking for selective application.
-
Blend colors naturally with the scene for realism.
-
Avoid over-saturation, which can make the image look fake.
Common Mistakes to Avoid with Lens Flare
-
Overuse of Effects – Too much flare distracts from the subject.
-
Wrong Placement – Misaligned flare breaks realism.
-
Ignoring Scene Lighting – A cool-toned image with a warm flare looks unnatural.
Best Practices for Photographers
-
Keep edits subtle for professional results.
-
Use flares to enhance storytelling instead of overpowering.
-
Experiment with different angles to find the most natural effect.
Photeeq Lens Flare for Beginners
Photeeq is perfect for beginners due to its intuitive presets. You don’t need advanced editing knowledge—just apply, adjust, and enjoy cinematic results.
Photeeq Lens Flare for Professionals
Professionals benefit from advanced customization. From high-end fashion photography to advertising, Photeeq allows precise control for polished results.
System Requirements for Photeeq
-
Photoshop: CC 2018 or later.
-
Lightroom: Classic CC or later.
-
RAM: Minimum 8GB, recommended 16GB.
-
OS: Windows 10 or macOS Mojave and above.
Troubleshooting Installation Issues
-
Plugin Not Showing: Reinstall in the correct folder.
-
Crashes: Update Photoshop/Lightroom to the latest version.
-
Compatibility Fixes: Ensure your OS supports the plugin.
Alternative Plugins to Photeeq Lens Flare
-
Nik Collection Analog Efex – Great for vintage flares.
-
ON1 Effects – Strong at landscape editing.
-
Free Alternatives: DIY flare brushes or gradient overlays.
How to Create a Cinematic Look with Photeeq
-
Apply warm golden flares for sunset effects.
-
Use cool blue flares for night photography.
-
Combine with gradient filters for a movie-like finish.
Editing Workflow with Photeeq Lens Flare
-
Import image into Photoshop or Lightroom.
-
Apply Photeeq preset.
-
Adjust brightness, angle, and saturation.
-
Blend with the scene.
-
Export the final high-resolution image.
How to Blend Lens Flare with Backgrounds
-
Match flare direction with the sunlight.
-
Use opacity adjustments for soft effects.
-
Blend with indoor lighting for creative studio shots.
Enhancing Portraits with Lens Flare
-
Add glow to hair highlights.
-
Create natural backlighting effects.
-
Use flare for romantic and dreamy vibes.
Landscape Photography with Photeeq Lens Flare
-
Simulate glowing sunsets.
-
Enhance mountain ridges with warm light.
-
Create reflections on water bodies with subtle flares.
Travel Photography with Photeeq Lens Flare
-
Make landmark photos pop with added drama.
-
Add warmth to street photography.
-
Create atmospheric effects in adventure shots.
Commercial Use of Photeeq Lens Flare
-
Perfect for fashion editorials.
-
Adds visual appeal in product photography.
-
Enhances storytelling in advertising campaigns.
Photeeq Lens Flare Presets Collection
-
Includes golden hour, cinematic glow, night city lights presets.
-
Fully customizable for personal style.
-
Save your own presets for consistent branding.
Photeeq for Social Media Creators
-
Make Instagram photos shine.
-
Create eye-catching YouTube thumbnails.
-
Add artistic effects to Reels and TikToks.
Is Photeeq Worth It?
If you’re a beginner, Photeeq helps you achieve professional edits with ease. For professionals, it provides time-saving presets and customization. Considering its features, the Photeeq Lens Flare Effect is a worthwhile investment for anyone serious about photography.
Future of Lens Flare Editing Plugins
-
AI-powered adjustments for automatic light placement.
-
More realism with dynamic rendering.
-
Workflow automation for faster editing.
Conclusion
The Photeeq Lens Flare Effect for Photoshop & Lightroom is more than just a plugin—it’s a creative tool that transforms photography. From beginners experimenting with presets to professionals crafting cinematic masterpieces, Photeeq delivers high-quality, realistic results in minutes. If you want your photos to tell a stronger story, Photeeq is a must-have in your editing toolkit.
FAQs about Photeeq Lens Flare Effect
How do I install Photeeq Lens Flare Effect?
Simply download, extract, and move the plugin files into the Photoshop or Lightroom preset folders, then restart the software.
Can I use Photeeq with Lightroom mobile?
Currently, Photeeq is designed for Lightroom Classic desktop, not mobile.
Does Photeeq work with RAW files?
Yes, it supports RAW editing for maximum quality.
Is Photeeq beginner-friendly?
Absolutely—its presets make editing quick and easy.
Can I customize Photeeq lens flares?
Yes, you can adjust brightness, size, saturation, and placement.
Is Photeeq a one-time purchase?
Most versions are available as a one-time license, but check the vendor for the latest pricing model.